Transitioning Your Indoor Plants
Posted August 1, 2019 in Plant and Tree
Most of us like to give our indoor plants a little TLC by bringing them outdoors in the spring and giving them some fresh air, but when the cooler nights slip in, we need to start transitioning indoor plants properly so you and your plants stay happy for the long winter season. Here are some gardening tips for transitioning your indoor plants before the winter coats come out of storage!
When is a Good Time to Transition My Plants to the Indoors?
Most tropical and subtropical plants cannot tolerate temperatures below 45° F Watch the weather in your area but, on average, temperatures typically dip down to 48° F by October.
However, don’t wait until the last minute…there are a few things to do before bringing your pretty plantings inside!
Transitioning Indoor Plants to Thrive Through the Winter
Soap Them Up-Rinse Them Off
Plants pick up pests while sitting outside in the fresh air. Mix up some in insecticidal soap with a 32-ounce water sprayer and follow the label’s instructions. Place each plant in a place where you can spray them down one at a time. Rinse them off and let them air dry. Don’t forget to inspect for any pests that may have hung on and are lurking under leaves or on stems. Repeat this process once more to eliminate any hitchhikers that had an extra-strong grip!
Root System Division
Take a peek at the root system of your indoor plant. Carefully tip the plant upside down and loosen the edges, while gently pulling on the leaves. If you see copious amounts of roots twirling round and round the edge of the container, you are past due for a repotting. Add several inches to the diameter of the new pot to give it plenty of room to grow. If your plant roots look good and not overcrowded, go to the next step.
You might even consider dividing the plant if the roots are plentiful into several different containers. Pulling the roots apart will be the biggest challenge. If you need to cut them, get some sterilized sharp knife or clippers to cut until you have them separated. Observe the leaves and how they are arranged. This will guide you on where the roots are. Cutting through a root will not harm the plant and stimulates it to produce more roots.
Once the roots are separated, spread them out in their new container making sure there is a drainage hole. Add container garden soil to the bottom and set your roots so that the top of the root system is about 1/2″ below the edge of the pot. Adding a few pebbles or a coffee filter to help the soil drain is up to the gardener. However, make sure that the pebbles don’t block the drainage holes and impede the water from draining or backing up. You will want to leave at least 1/2″ when watering so the soil doesn’t spill out of your indoor container. Cover your plant roots with new container soil to ensure your plant has stability, add tepid water until it drains out the holes and let the plant sit and water again to ensure all the container soil has gotten moisture but not soaking wet. Set it in a place to drain or have a plant saucer underneath it to catch any excess water.
Right Light, Right Exposure
When transitioning your indoor plants determine what types of tropicals you have, and what are the light requirements for your indoor house plants. To transition well, find the spot that has the light you’ll need for the plant. For instance, if you need high light requirements (see on the plant label), then choose a southern facing window to get adequate light. If your indoor plant needs medium light, locate a few feet away from the window on the south side.
West windows give a long period of direct sun and tend to give off a more intense heat that can damage the leaves of some plants; avoid this side of the house unless you know the plant can thrive here.
Eastside windows are best for low to medium light requirements, as the morning sun is cooler and is perfect for most smaller, indoor plants.
Northern windows give off very little light, so choose your plants that require very low light requirements. Snake Plants, ZZ plants, ivy, and Maidenhair ferns will do very well in low to moderate light.
If you see that your plant is stretching towards the light, move it closer. Light is its way of producing food through photosynthesis, so don’t make it work for it. Move it closer to the window that will give it the adequate light it needs to thrive. Generally, plants that have flowers typically need more light also. Rotate the plant each week by turning it 180° so all its leaves get light. This is where you need to pay careful attention. Plants that are stressed, damaged, or diseased give you an indication that they have not been cared for adequately and will almost always signal to you what they need.
Watering and Fertilizing your Indoor House Plant
When plants are inside during the winter, it isn’t necessary to fertilize until a month before bringing it back outside in the spring. Consider the plant going into dormancy during this time. While it’s still thriving, you don’t want to promote active growth…so hands off the Miracle-Gro!
However, you need to keep an eye on the watering and humidity requirements your plant will need. Depending on what type of plant you have will determine the watering regimen. Typically a plant that needs less light will not consume as much water as the one that’s in the bright light category. Those plants that have variegation in the leaves require more sun, thus more water.
Do some research on how much water your particular plants require, then be sure to use lukewarm water. For instance, your Snake Plant (Sansevieria) only needs watering every 2-6 weeks, depending on where it’s sitting (near a heat source, light levels, humidity, etc.). This particular plant is a diehard and suitable for those beginner gardeners.
If your plant likes a lot of humidity, use a tray with tiny pebbles or glass chips and add water to the tray to humidify your tropicals. Plants that love high humidity are Begonias, Spider Plants, Orchids, Bamboo, and Bromeliads; they love humidity but don’t like wet soil. Misting your plants with a spray bottle can also increase the humidity factor as well!
Air Circulation
Whichever window you decide is the best home for your indoor plant, make sure it has plenty of air circulation. Don’t sit them near a heat vent or often open door where cold air can shock it. Keep them up and out of areas where pets will be lying or walking.
Enjoy Your Green Space All Year
By bringing your garden indoors in the wintertime you will be able to enjoy the greenery year-round. In the meantime, don’t forget the winter garden outside! Start planning for those crisp fall evenings by talking with your landscape design about a winter-interest landscape or to see if an outdoor fireplace or fire pit is right for your space and your family! Whether you are seeking landscaping guidance and design or are ready to reimagine your outdoor living space as a whole, MasterPLAN Outdoor Living would love to help you uncover the true potential of your property! When you are ready to open the conversation about the possibilities for your own space, reach out to MasterPLAN! We would love to welcome you into the family.
Sources:
Join Our Newsletter
Stay up to date with what is happening with MasterPLAN Outdoor Living.
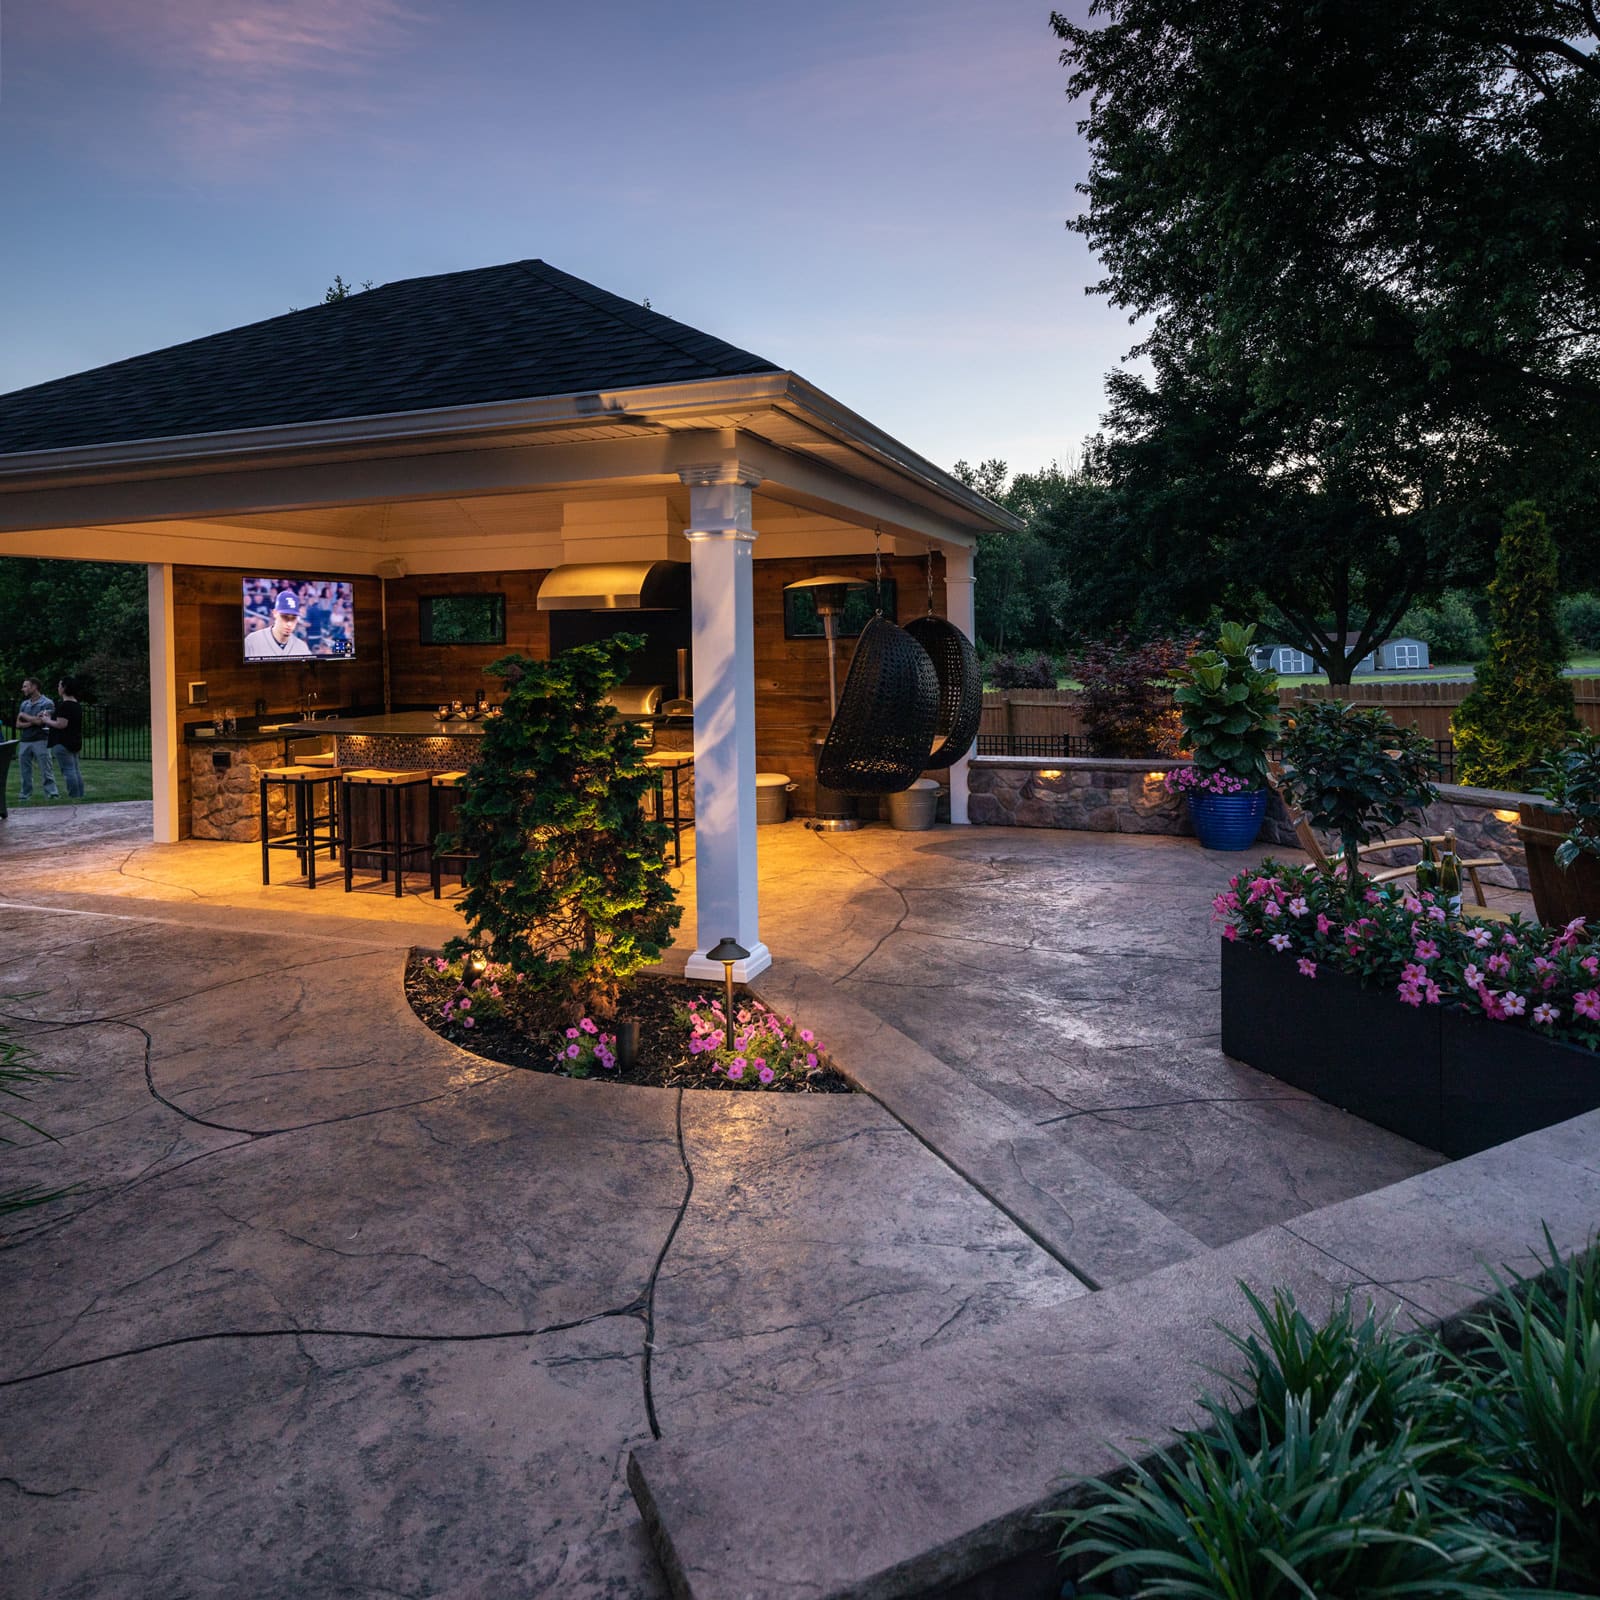
This pavilion protects the outdoor kitchen and allows the party to keep going at night, even in surprise weather!

We designed this gunite swimming pool with a church step entrance. This allows easy entry and additional room to relax at different depths!
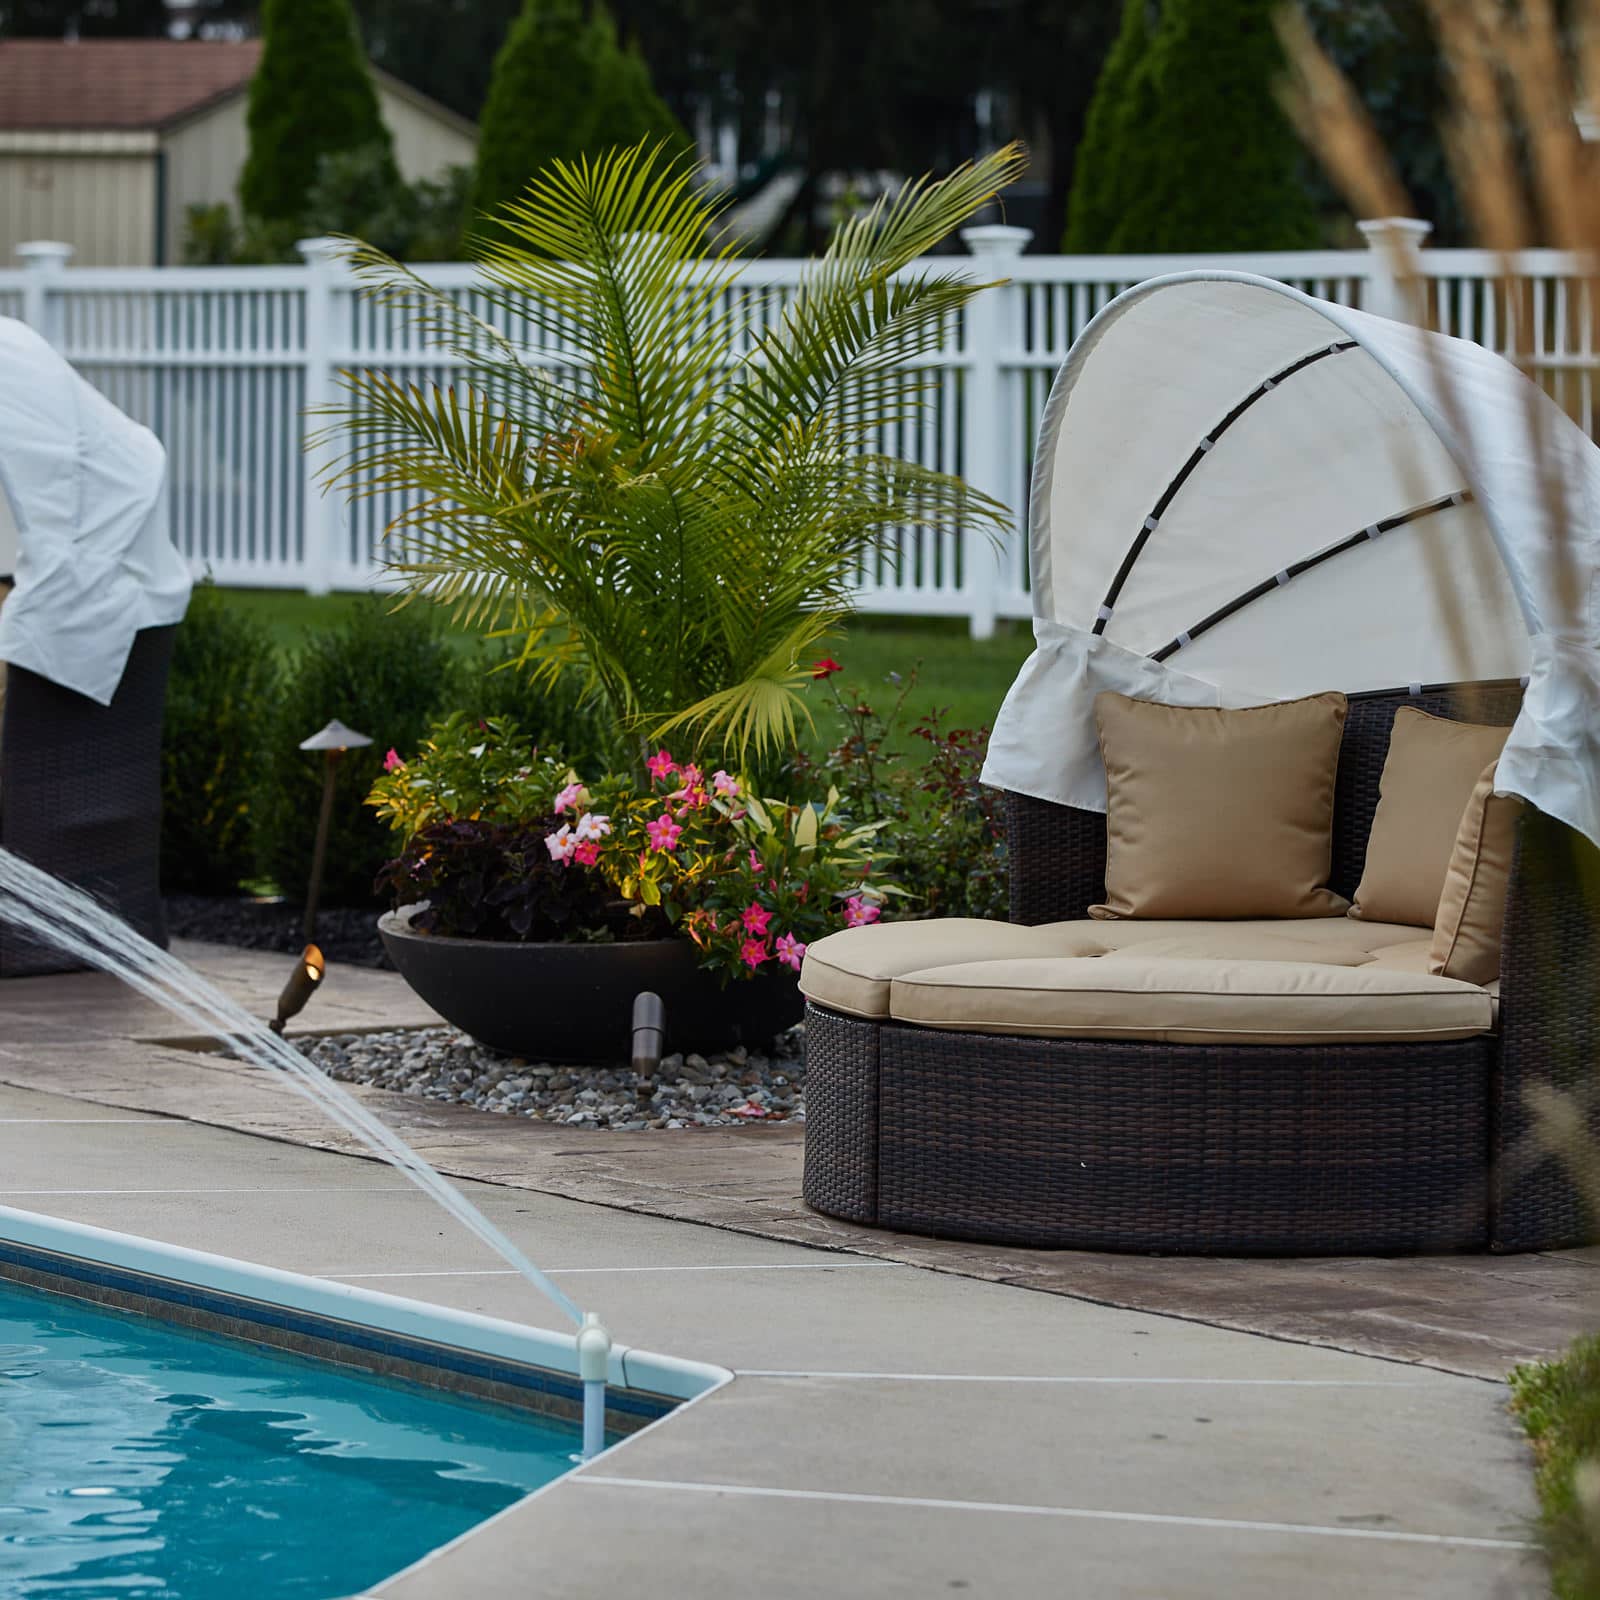
It’s the details that make each MasterPLAN project feel like home.

This Bethlehem family loves their custom outdoor living space so much, even Stella the pup can’t resist basking in the sunshine too!
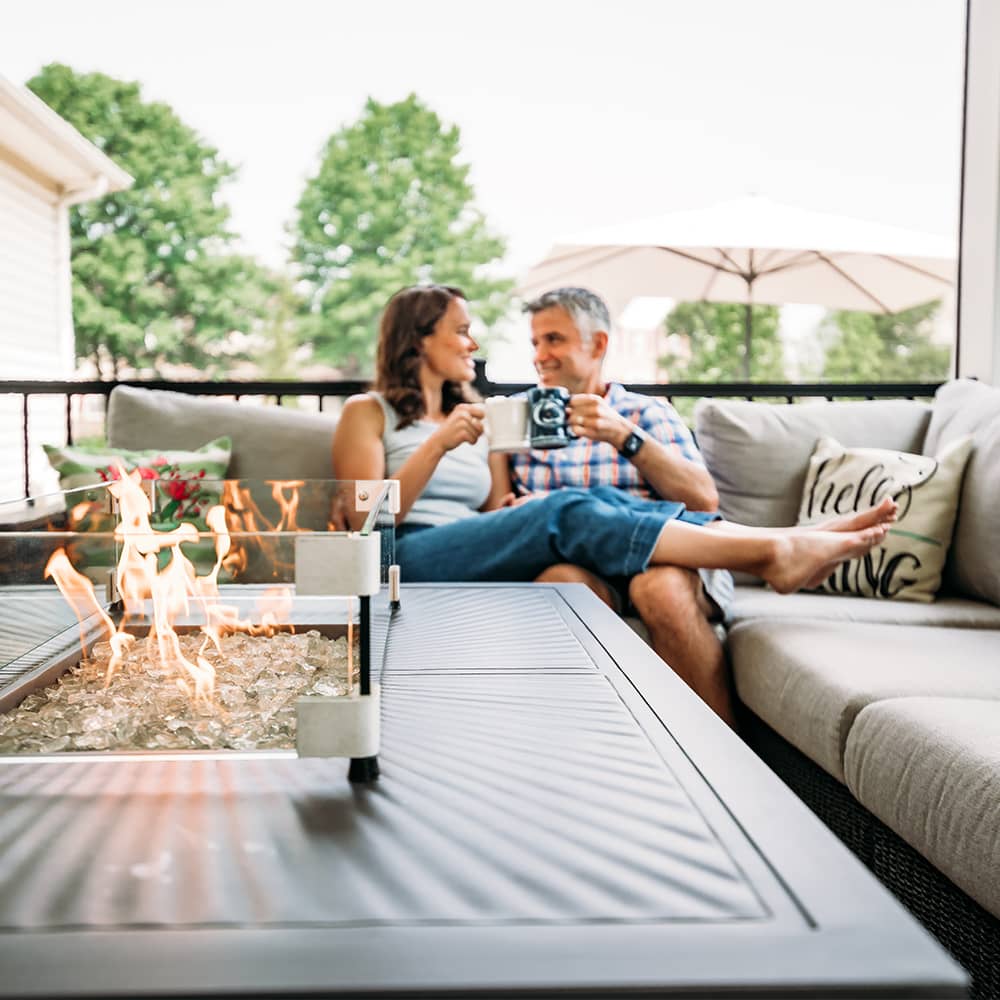
We can't guarantee your morning coffee will taste better in your new outdoor living space, but we are certainly looking into it…
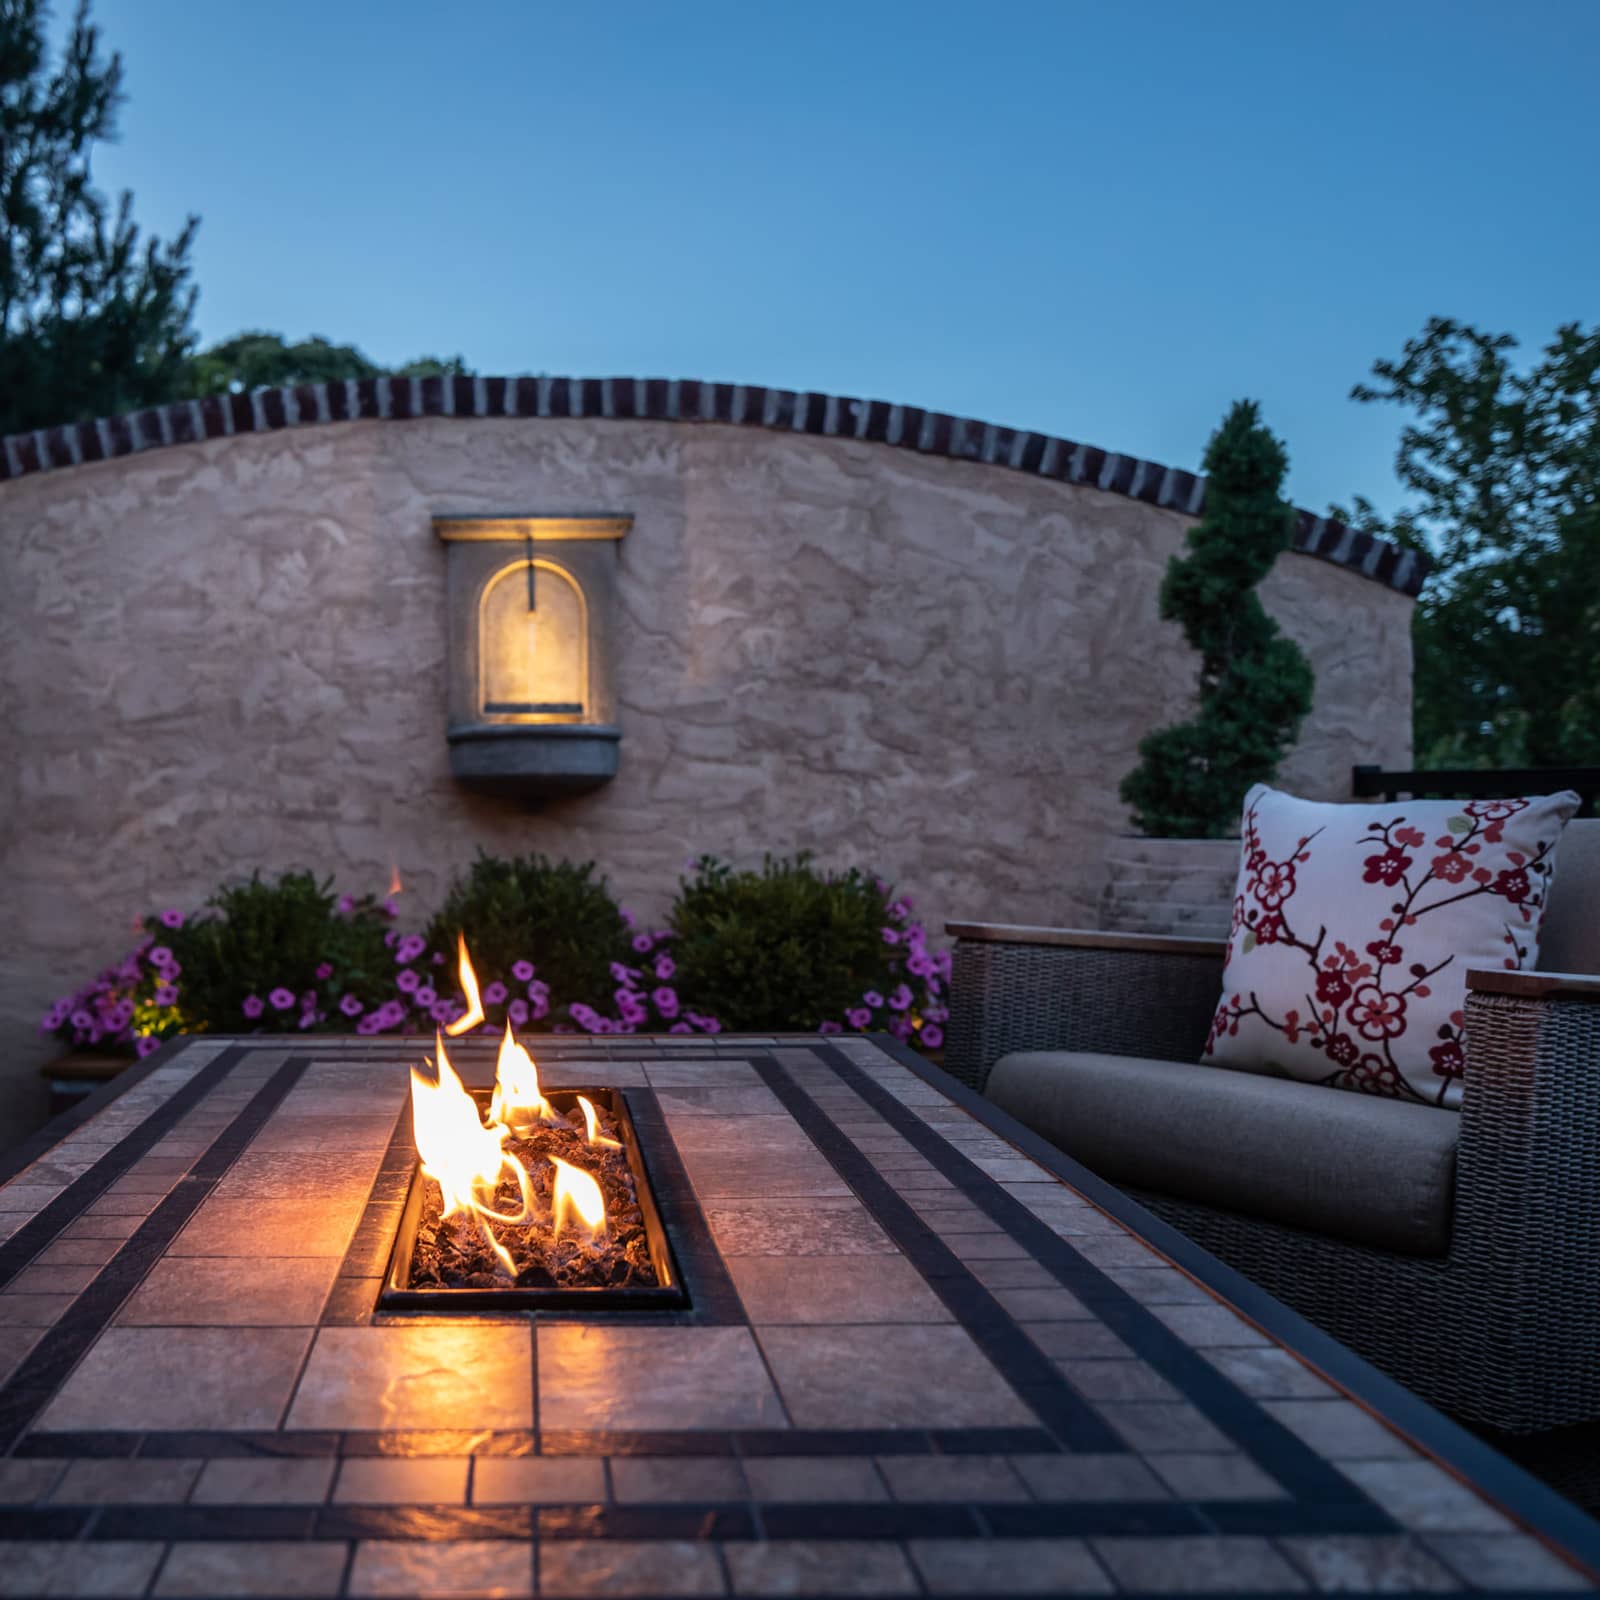
Brick and stucco bring cohesion to this backyard tuscan-inspired feature wall, as these are the materials used in the front of the home!
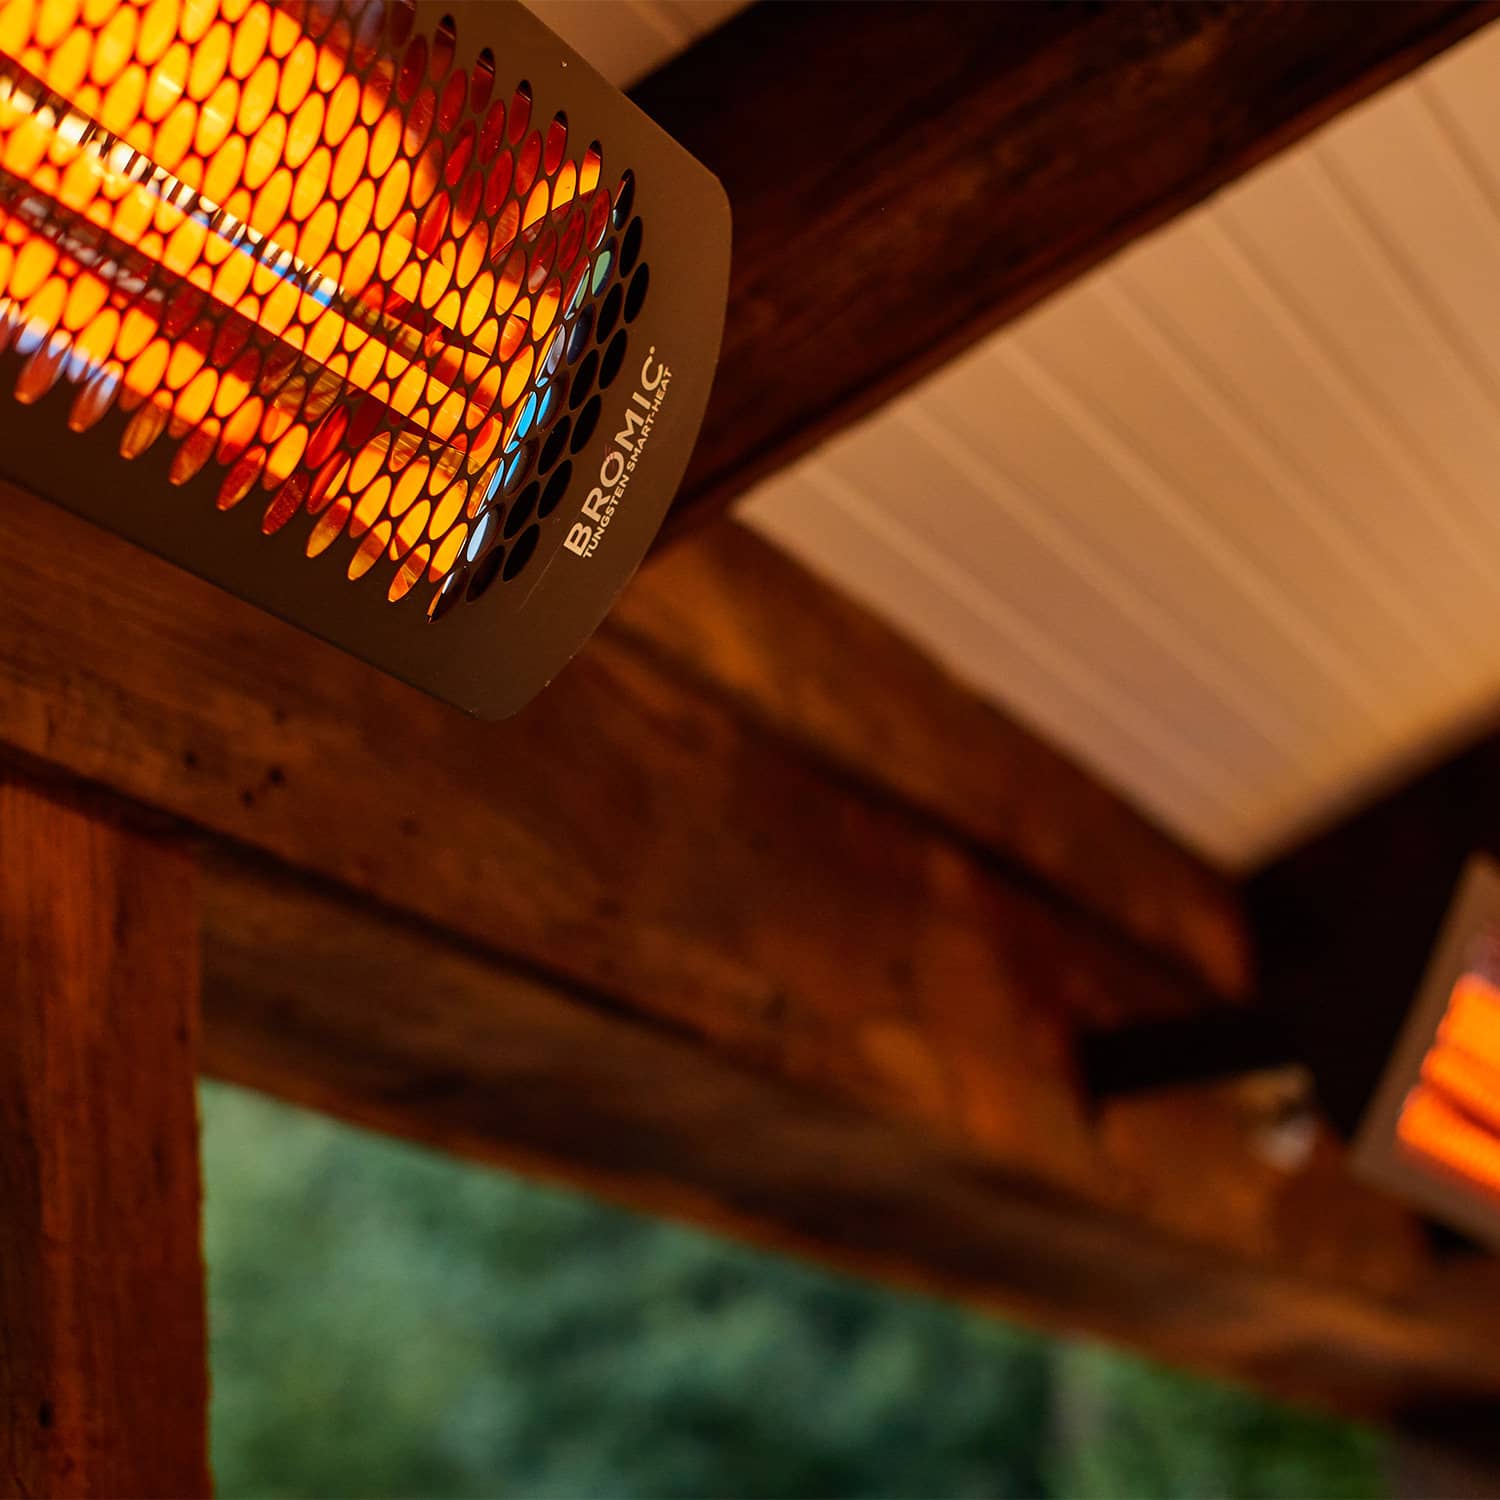
Bromic heaters are an aesthetic and effective way to heat outdoor living spaces, gaining 2 extra months in the spring and fall for comfortable outdoor enjoyment
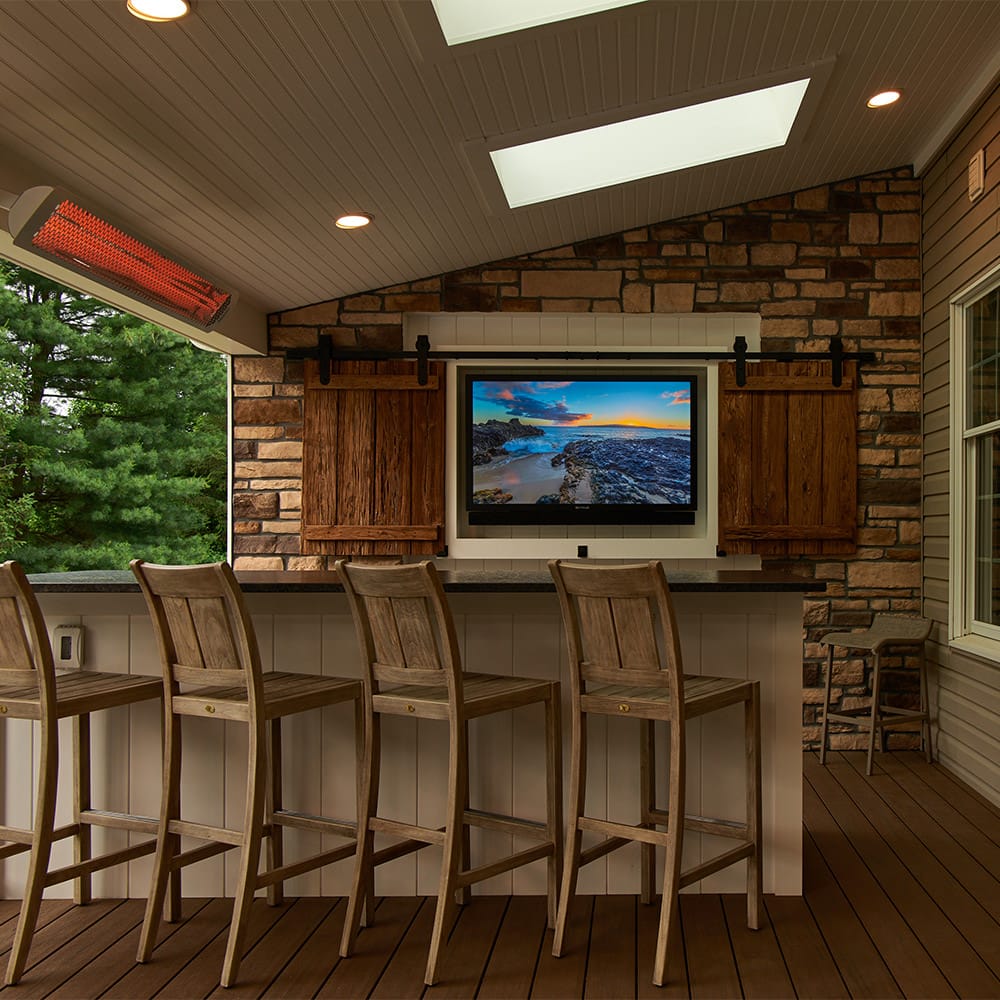
Creature comforts like this infrared Bromic heater allow this family to enjoy their outdoor space for an additional 4 months out of the year!


